 Introduction
Recently I had a case and I needed to assist my customer with a CPU Monitor that targets all Windows Computers. The customer is using the PowerShell Authoring Community MP by Cookdown. I will document my steps to get this working as intended.
 Prerequisites
- Import Cookdown PowerShell Monitoring - Community Management Pack (https://www.cookdown.com/scom-essentials/powershell-authoring/)
 Example MP
You can get a copy of the Management Pack I created in this guide, here:
Custom Monitor for CPU Usage ![]() Direct Download Link
Direct Download Link
Note
This guide will require you to edit the Management Pack directly, be aware that you need to be careful when editing any Management Pack to ensure you do not accidently change the wrong thing.
 Start of Guide
Step 1. Create a new Unit Monitor
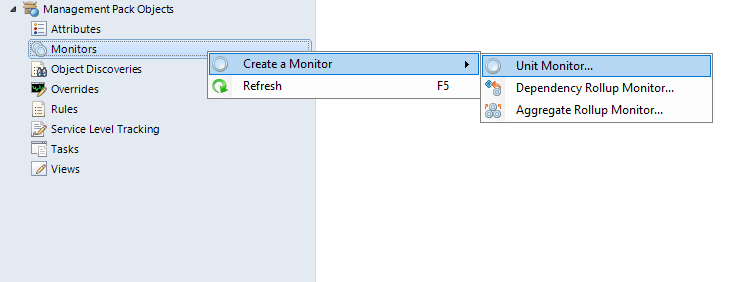
You will need to create a new Unit Monitor.
- Open the SCOM Console and navigate to the Authoring Tab -> Monitors -> Right Click Monitors -> Hover over Create a Monitor and select Unit Monitor…:
- Open the Scripting folder -> PowerShell Based -> PowerShell Script Two State Monitor (Community)
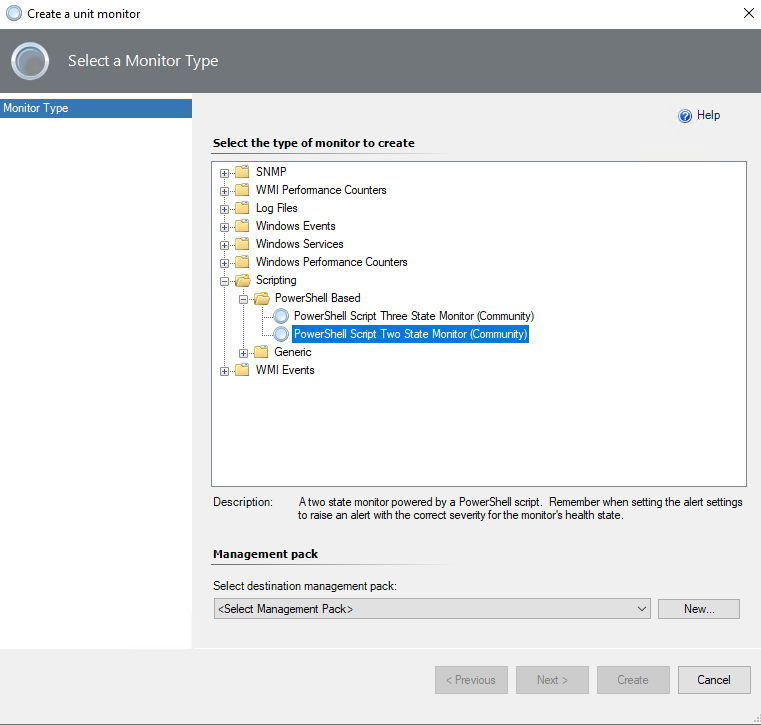
- Select the appropriate Management Pack to save the new Monitor.
It is HIGHLY recommended to save to a new MP instead of any existing MPs! - Select Next >
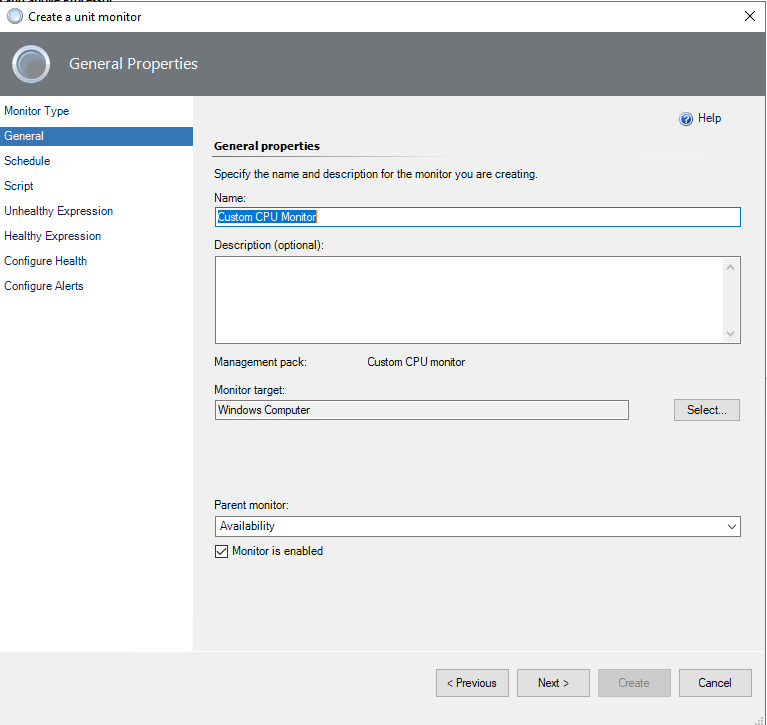
- Type in an appropriate name / description, I used: Custom CPU Monitor
- Change the Monitor Target to Windows Computer
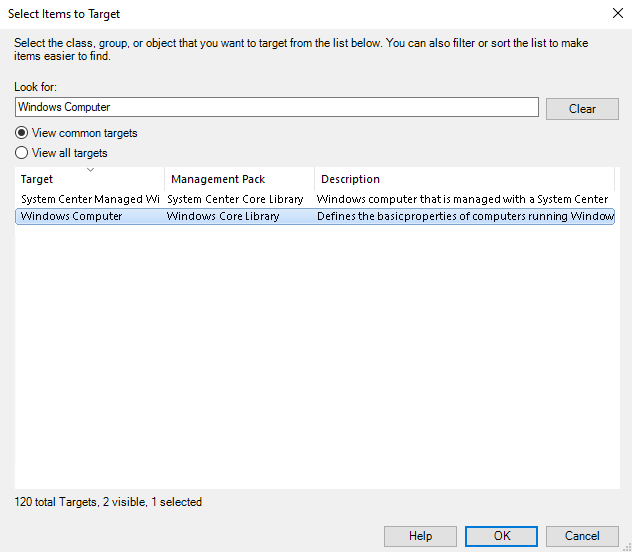
- Click Next >
- Run every 15 minutes by default, this is a good interval to start with. Click Next >
- Type in the File Name you want to use, I used: my_custom_cpu_monitoring_script.ps1
- Copy and Paste the below script into the Script section and click Next >:
$api = New-Object -ComObject "MOM.ScriptAPI";
$PropertyBag = $api.CreatePropertyBag();
[int]$Result = [int]((Get-Counter "\Processor(_Total)\% Processor Time").CounterSamples.CookedValue);
$PropertyBag.AddValue("CPUUsage", $Result);
$PropertyBag
- Copy and paste the below, when everything below has been copied, click Next >:
- Parameter Name column:
Property[@Name="CPUUsage"] - Operator:
Greater than or equal to - Value:
50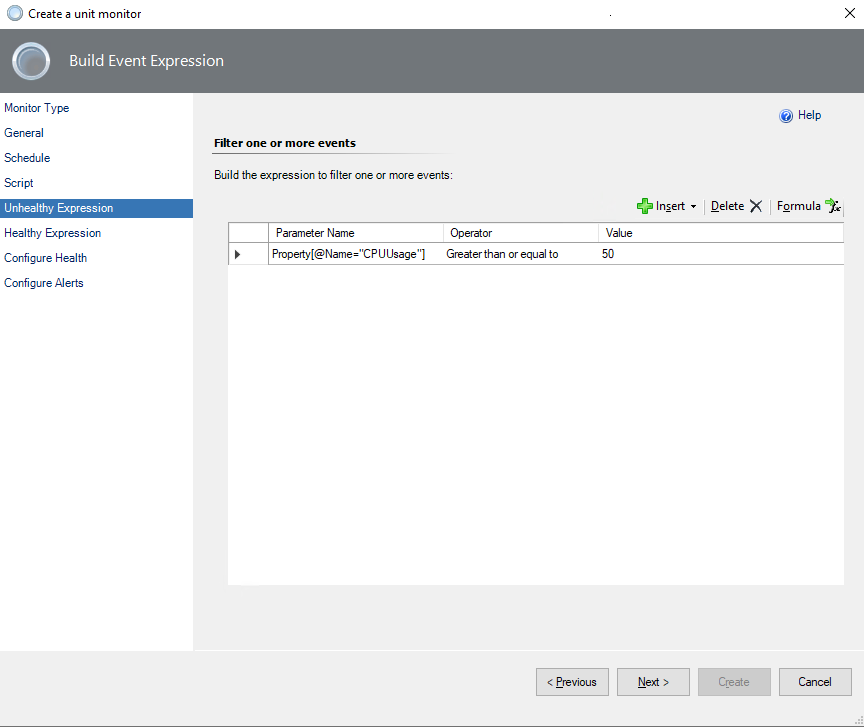
- Parameter Name column:
- Copy and paste the below, when everything below has been copied, click Next >:
- Parameter Name column:
Property[@Name="CPUUsage"] - Operator:
Less than - Value:
50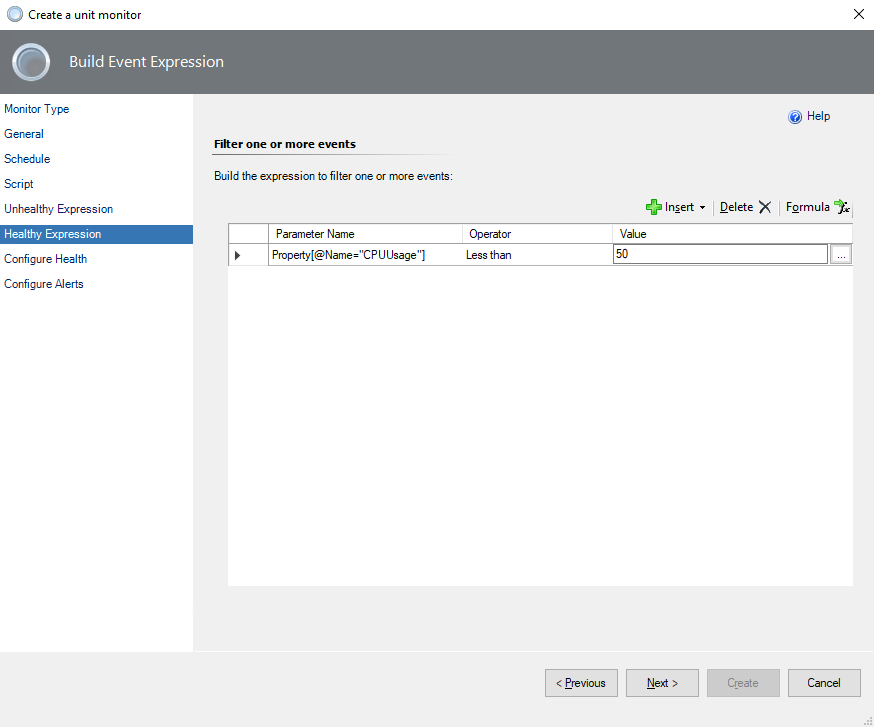
- Parameter Name column:
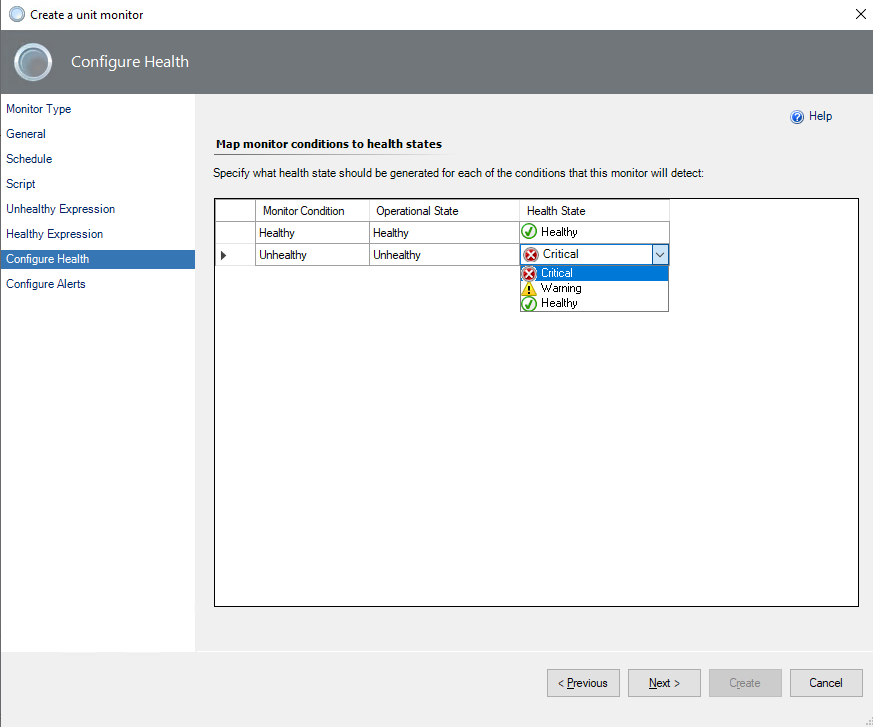
- Optional: Change Unhealthy from Warning to Critical.
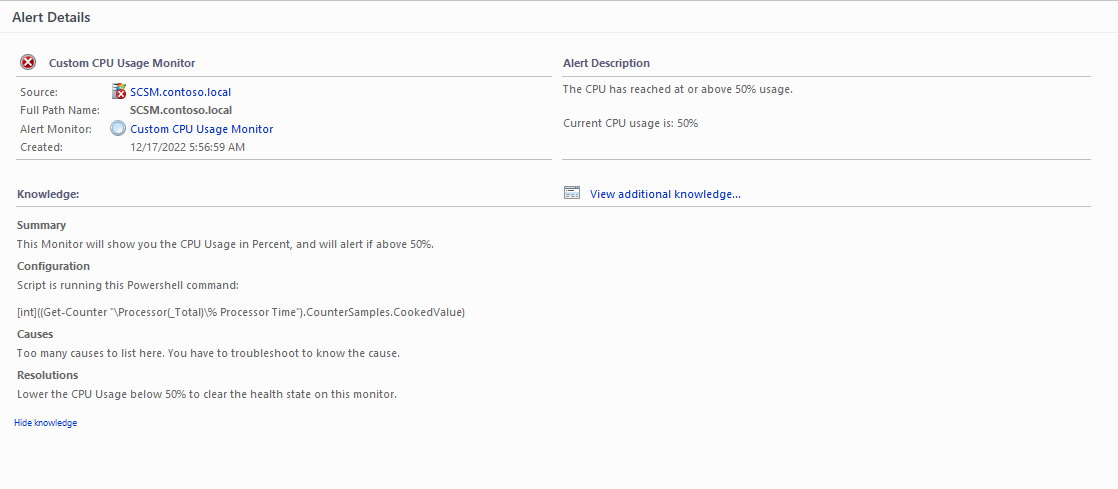
- Click the Generate alerts for this monitor checkbox and change the Alert Description text to this:
The CPU has reached at or above 50% usage. Current CPU usage is: $Data/Context/Property[@Name="CPUUsage"]$% - Done creating the unit monitor, now onto the more advanced stuff!
Step 2. Modify the Management Pack
We will need to modify the Management Pack in order to allow the expressions to evaluate correctly. The Monitor is setup to use string values instead of integers, which will cause problems when we try to evaluate the health of the monitor.
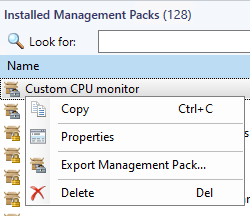
- Go to Administration Tab -> Management Packs -> Installed Management Packs -> Search for the Management Pack where your Monitor is saved. Select and export the Management Pack to any location.
- Navigate to the exported Management Pack xml file, open the MP XML with Notepad.
- Find and replace:
<XPathQuery>Property[@Name="CPUUsage"]</XPathQuery>- Replace any occurrences with the following:
<XPathQuery Type="Integer">Property[@Name="CPUUsage"]</XPathQuery> - The above change allows us to interpret the output as integer, instead of string.
- Replace any occurrences with the following:
- Find and replace:
<Value Type="String">50</Value>- Replace any occurrences with the following:
<Value Type="Integer">50</Value> - The above change allows us to interpret the output as integer, instead of string.
- Replace any occurrences with the following:
- Modify Line 5 (the version of the Management Pack) in the xml file from:
<Version>1.0.0.0</Version>
to
<Version>1.0.0.1</Version> - Save the Management Pack XML and import the Management Pack back into your environment.
Leave some feedback if this helped you! ![]()

Share on:
