Contents
 Introduction
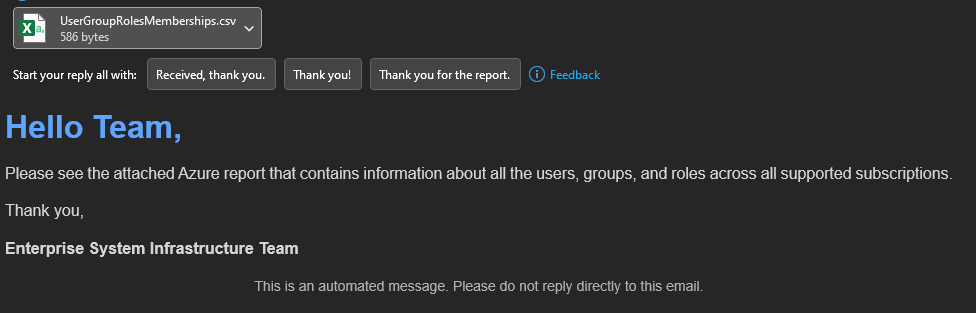
Azure cloud services management often requires monitoring and auditing user roles and group memberships. This script automates the generation and email distribution of detailed Azure subscription role assignments. It utilizes managed identity for Azure login, fetches role assignments, and compiles them into a comprehensive report sent via email.
 How to get it
You can download the script from the following links:
-
Get-AzRoleAssignmentReport.ps1
 Direct Download Link
-
Personal File Server - Get-AzRoleAssignmentReport.ps1 Alternative Download Link
-
Personal File Server - Get-AzRoleAssignmentReport.txt Text Format Alternative Download Link
 Argument List
| Parameter | Alias | ValueFromPipeline | Type | Description |
|---|---|---|---|---|
| EmailUsername | String | The username used to authenticate with the SMTP server. | ||
| EmailPassword | SecureString | The secure password used for SMTP authentication. | ||
| From | String | The email address from which the report will be sent. | ||
| To | Array | Array of recipient email addresses to whom the report will be sent. | ||
| Cc | Array | Array of CC recipient email addresses. | ||
| Subject | String | The subject line of the email. | ||
| Body | String | The body text of the email, describing the contents of the report. Can be HTML or plain text. | ||
| SMTPServer | String | The SMTP server used for sending the email. | ||
| SubscriptionIds | Array | Array of Azure subscription IDs to be included in the report. | ||
| WhatIf | Switch | A switch to simulate the script execution for testing purposes without performing any actual operations. |
 Configuring Permissions for Managed Identity
To enable the PowerShell script to retrieve detailed user information, such as ObjectType and DisplayName from Azure Active Directory, the UserManagedIdentity needs the “Directory Readers” permission. This role-based access control (RBAC) is assigned at the Microsoft Entra ID level (formerly known as Azure Active Directory), not at the subscription level. Follow these steps to assign the correct permissions:
-
Identify the Object ID:
-
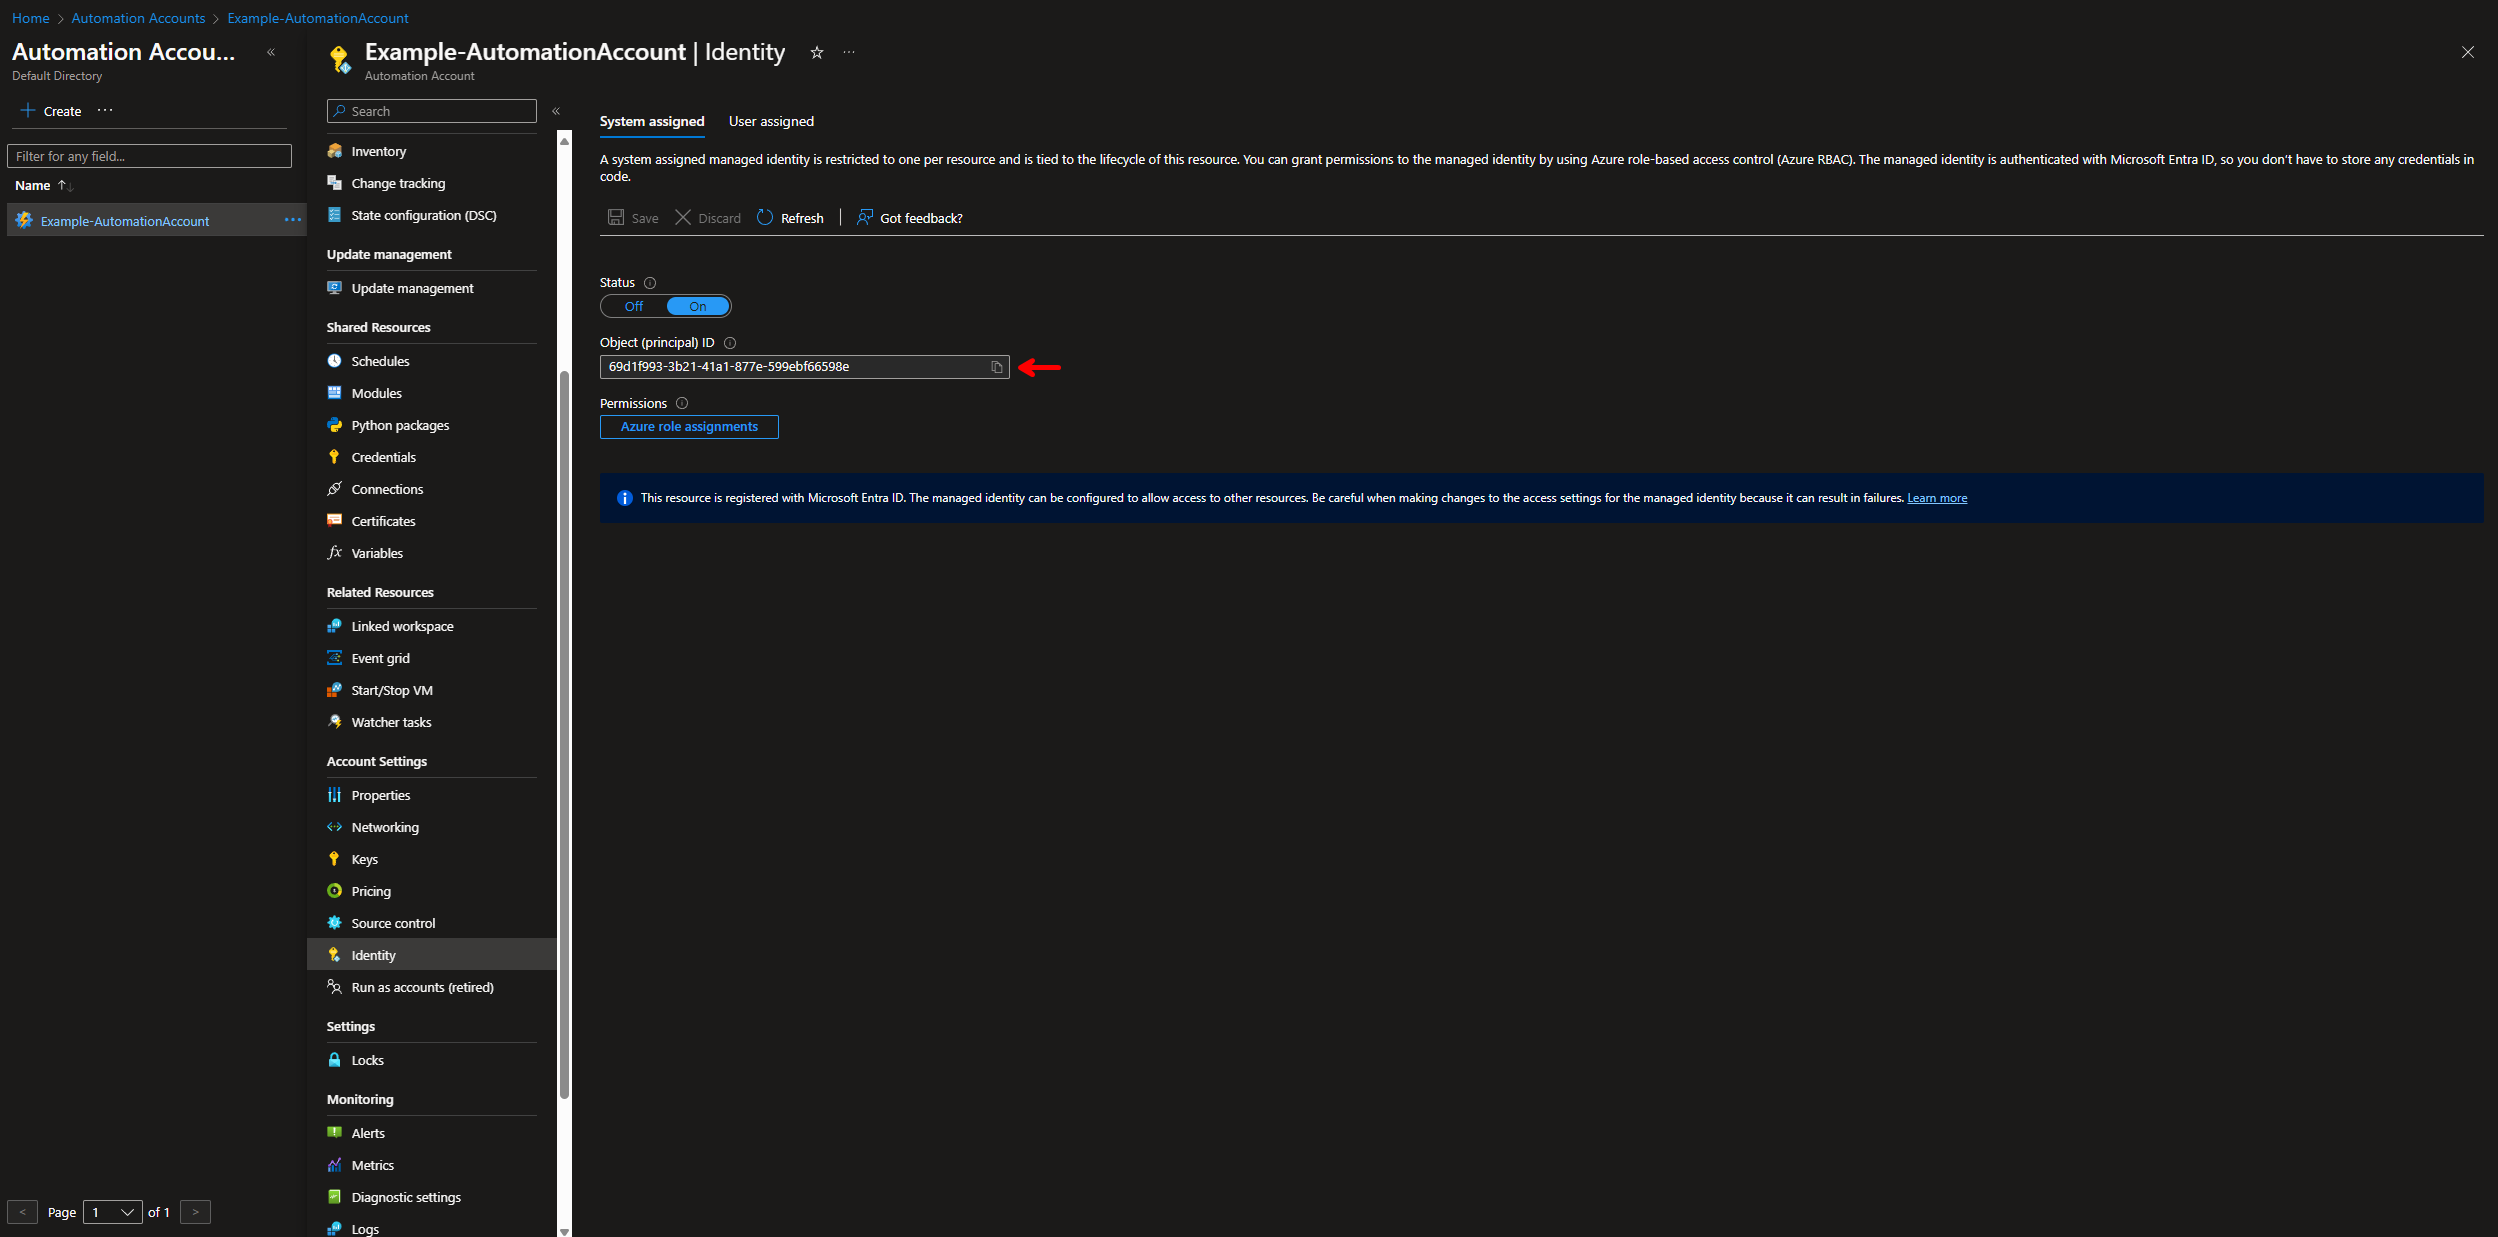
System Assigned Identity
- Navigate to your Azure Automation Account -> Identity, select the System assigned tab. Copy the Object ID of the System Assigned identity.
- Navigate to your Azure Automation Account -> Identity, select the System assigned tab. Copy the Object ID of the System Assigned identity.
-
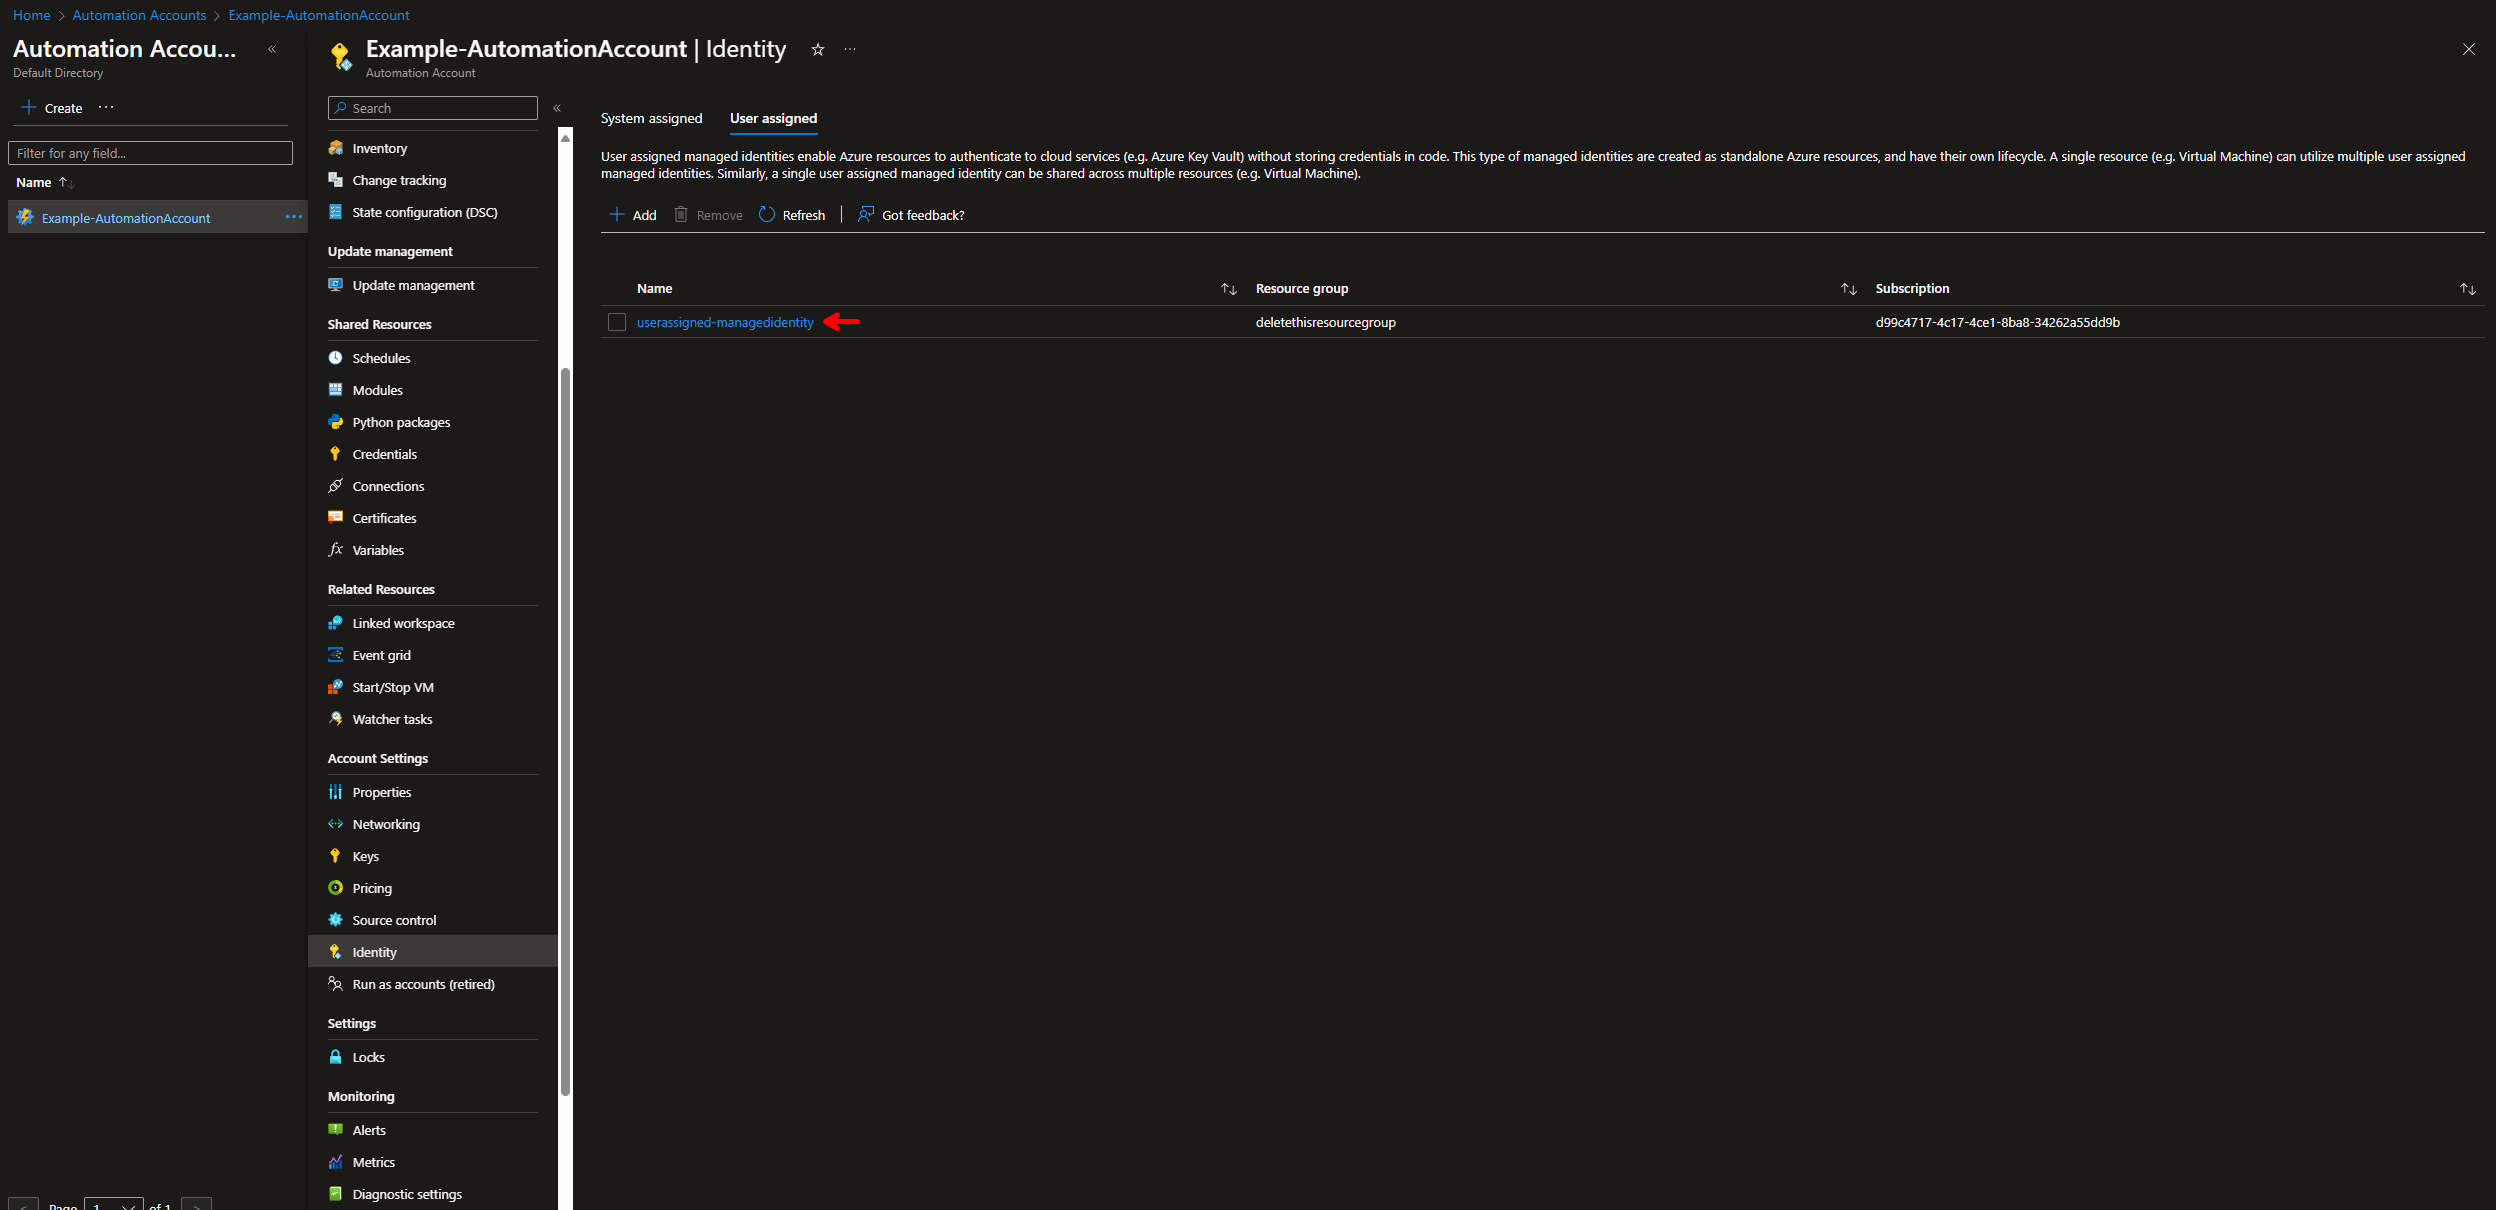
User Assigned Identity
- Navigate to your Azure Automation Account -> Identity, select the User assigned tab. Click on the name of the user assigned identity you want to gather the id from. Copy the Object ID of the User Assigned identity.

- Navigate to your Azure Automation Account -> Identity, select the User assigned tab. Click on the name of the user assigned identity you want to gather the id from. Copy the Object ID of the User Assigned identity.
-
System Assigned Identity
-
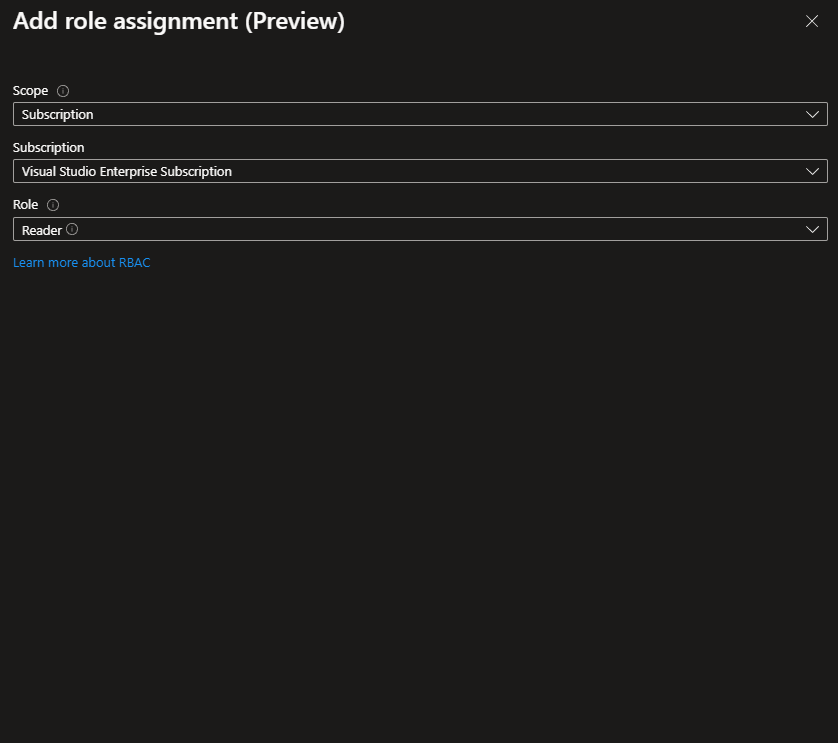
Set Azure role assignments
- Select Azure role assignments
- Select Add role assignment
- Set the scope to: Subscription
- Select the subscription.
- Set the role to (use what your company allows here, this is just what I used in my testing): Reader
-
Assign the Role:
- Open Microsoft Entra Id -> Roles and Administrators.
Azure Portal - Roles and Administrators - In the roles list, find and click on Directory Readers.

- Click + Add Assignments to start the role assignment process.
- Open Microsoft Entra Id -> Roles and Administrators.
-
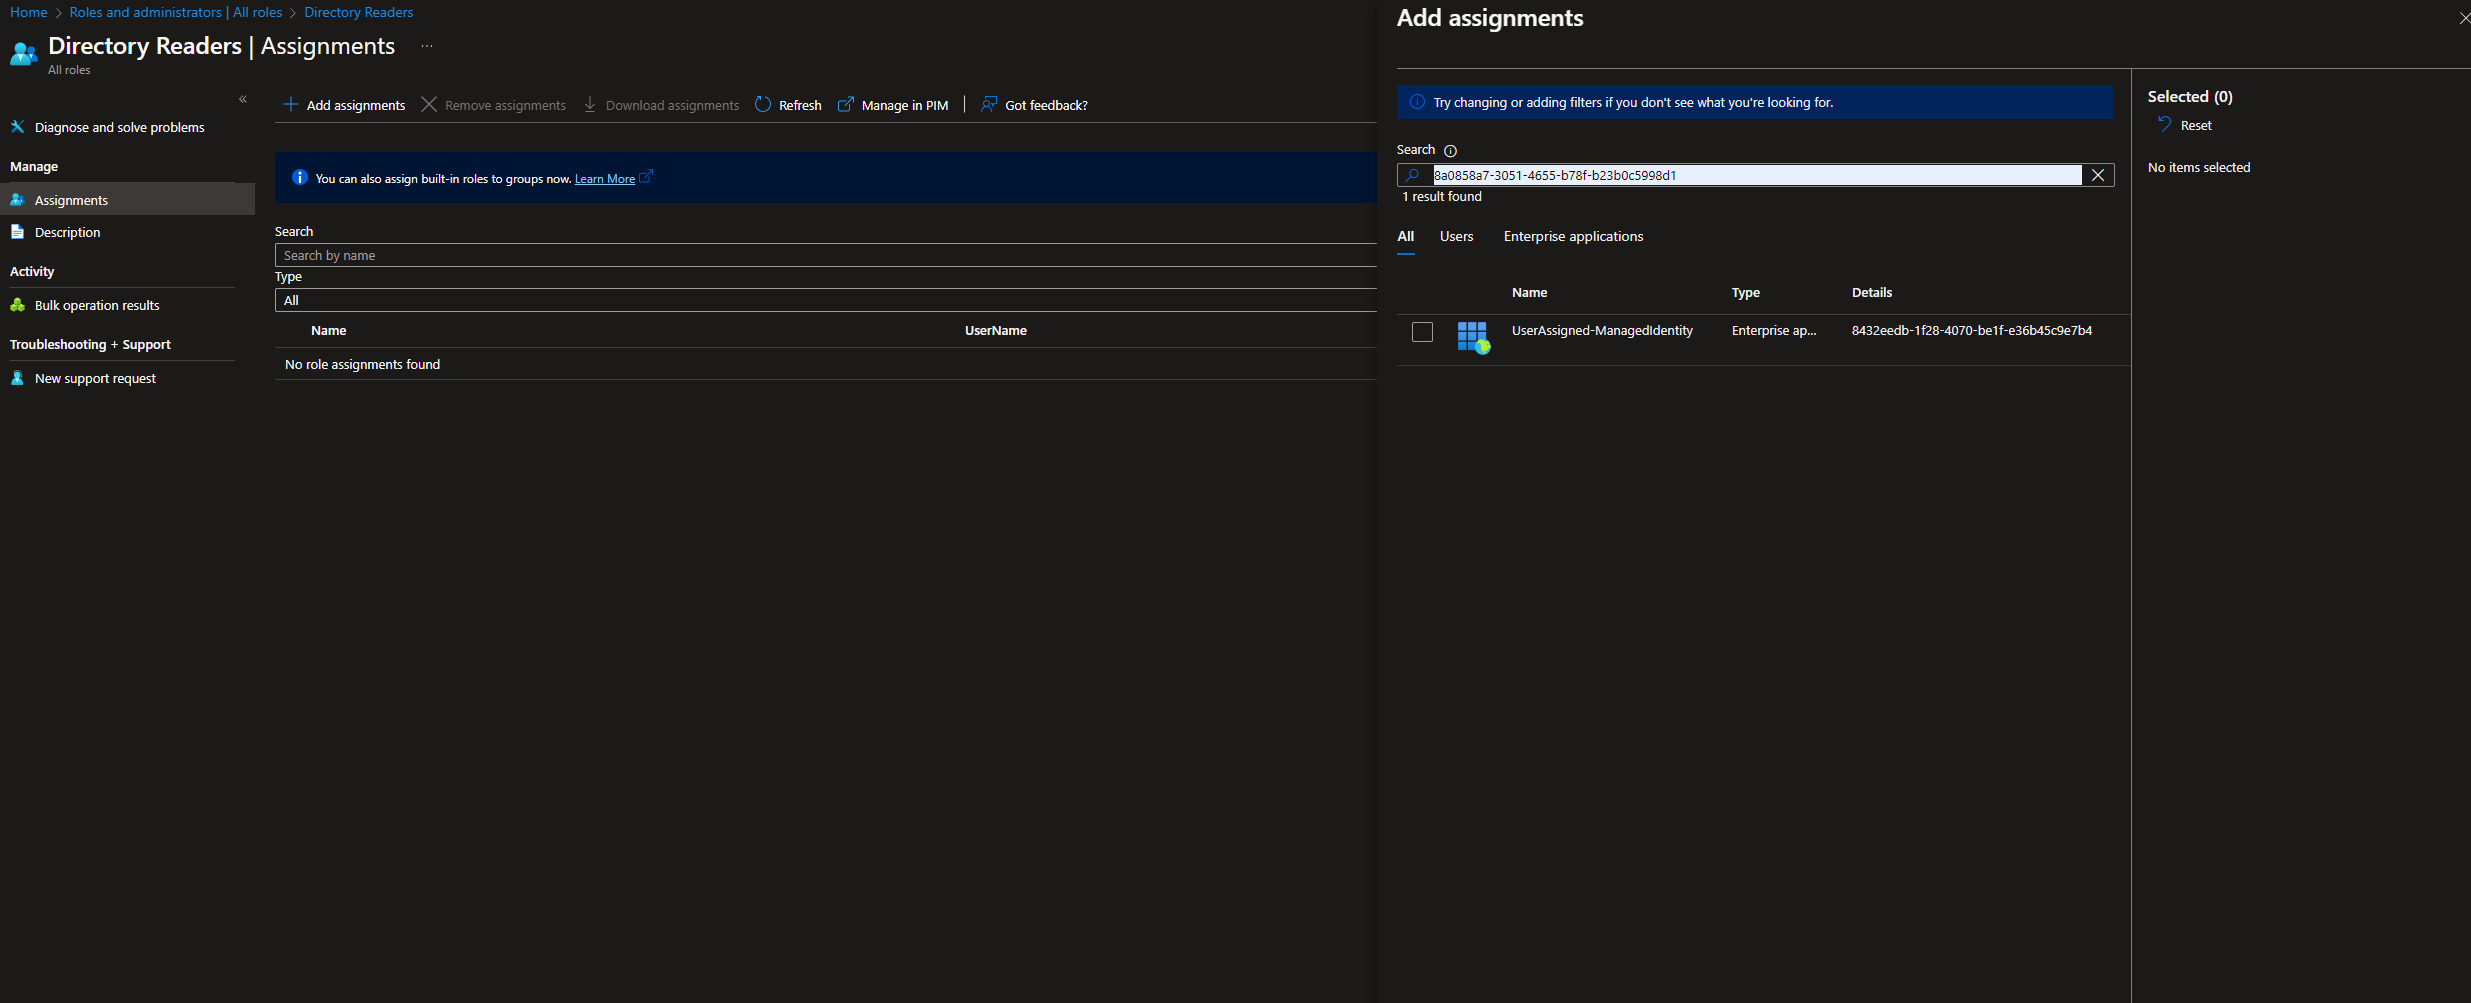
Add Managed Identity to Role:
- In the assignment interface, you might not see app registrations or managed identities by default.
- Paste the Object ID (from step 1) into the search field. This should display the name and ID of your Azure Automation Account.
- Select your account and confirm the assignment.
-
Verify Permissions:
- Once the “Directory Readers” permission is assigned, the script will be able to pull the Object Type and DisplayName along with other outputs from
Get-AzRoleAssignment.
- Once the “Directory Readers” permission is assigned, the script will be able to pull the Object Type and DisplayName along with other outputs from
This configuration is essential for the script to function correctly and securely access the necessary Azure AD data!
 How to use it
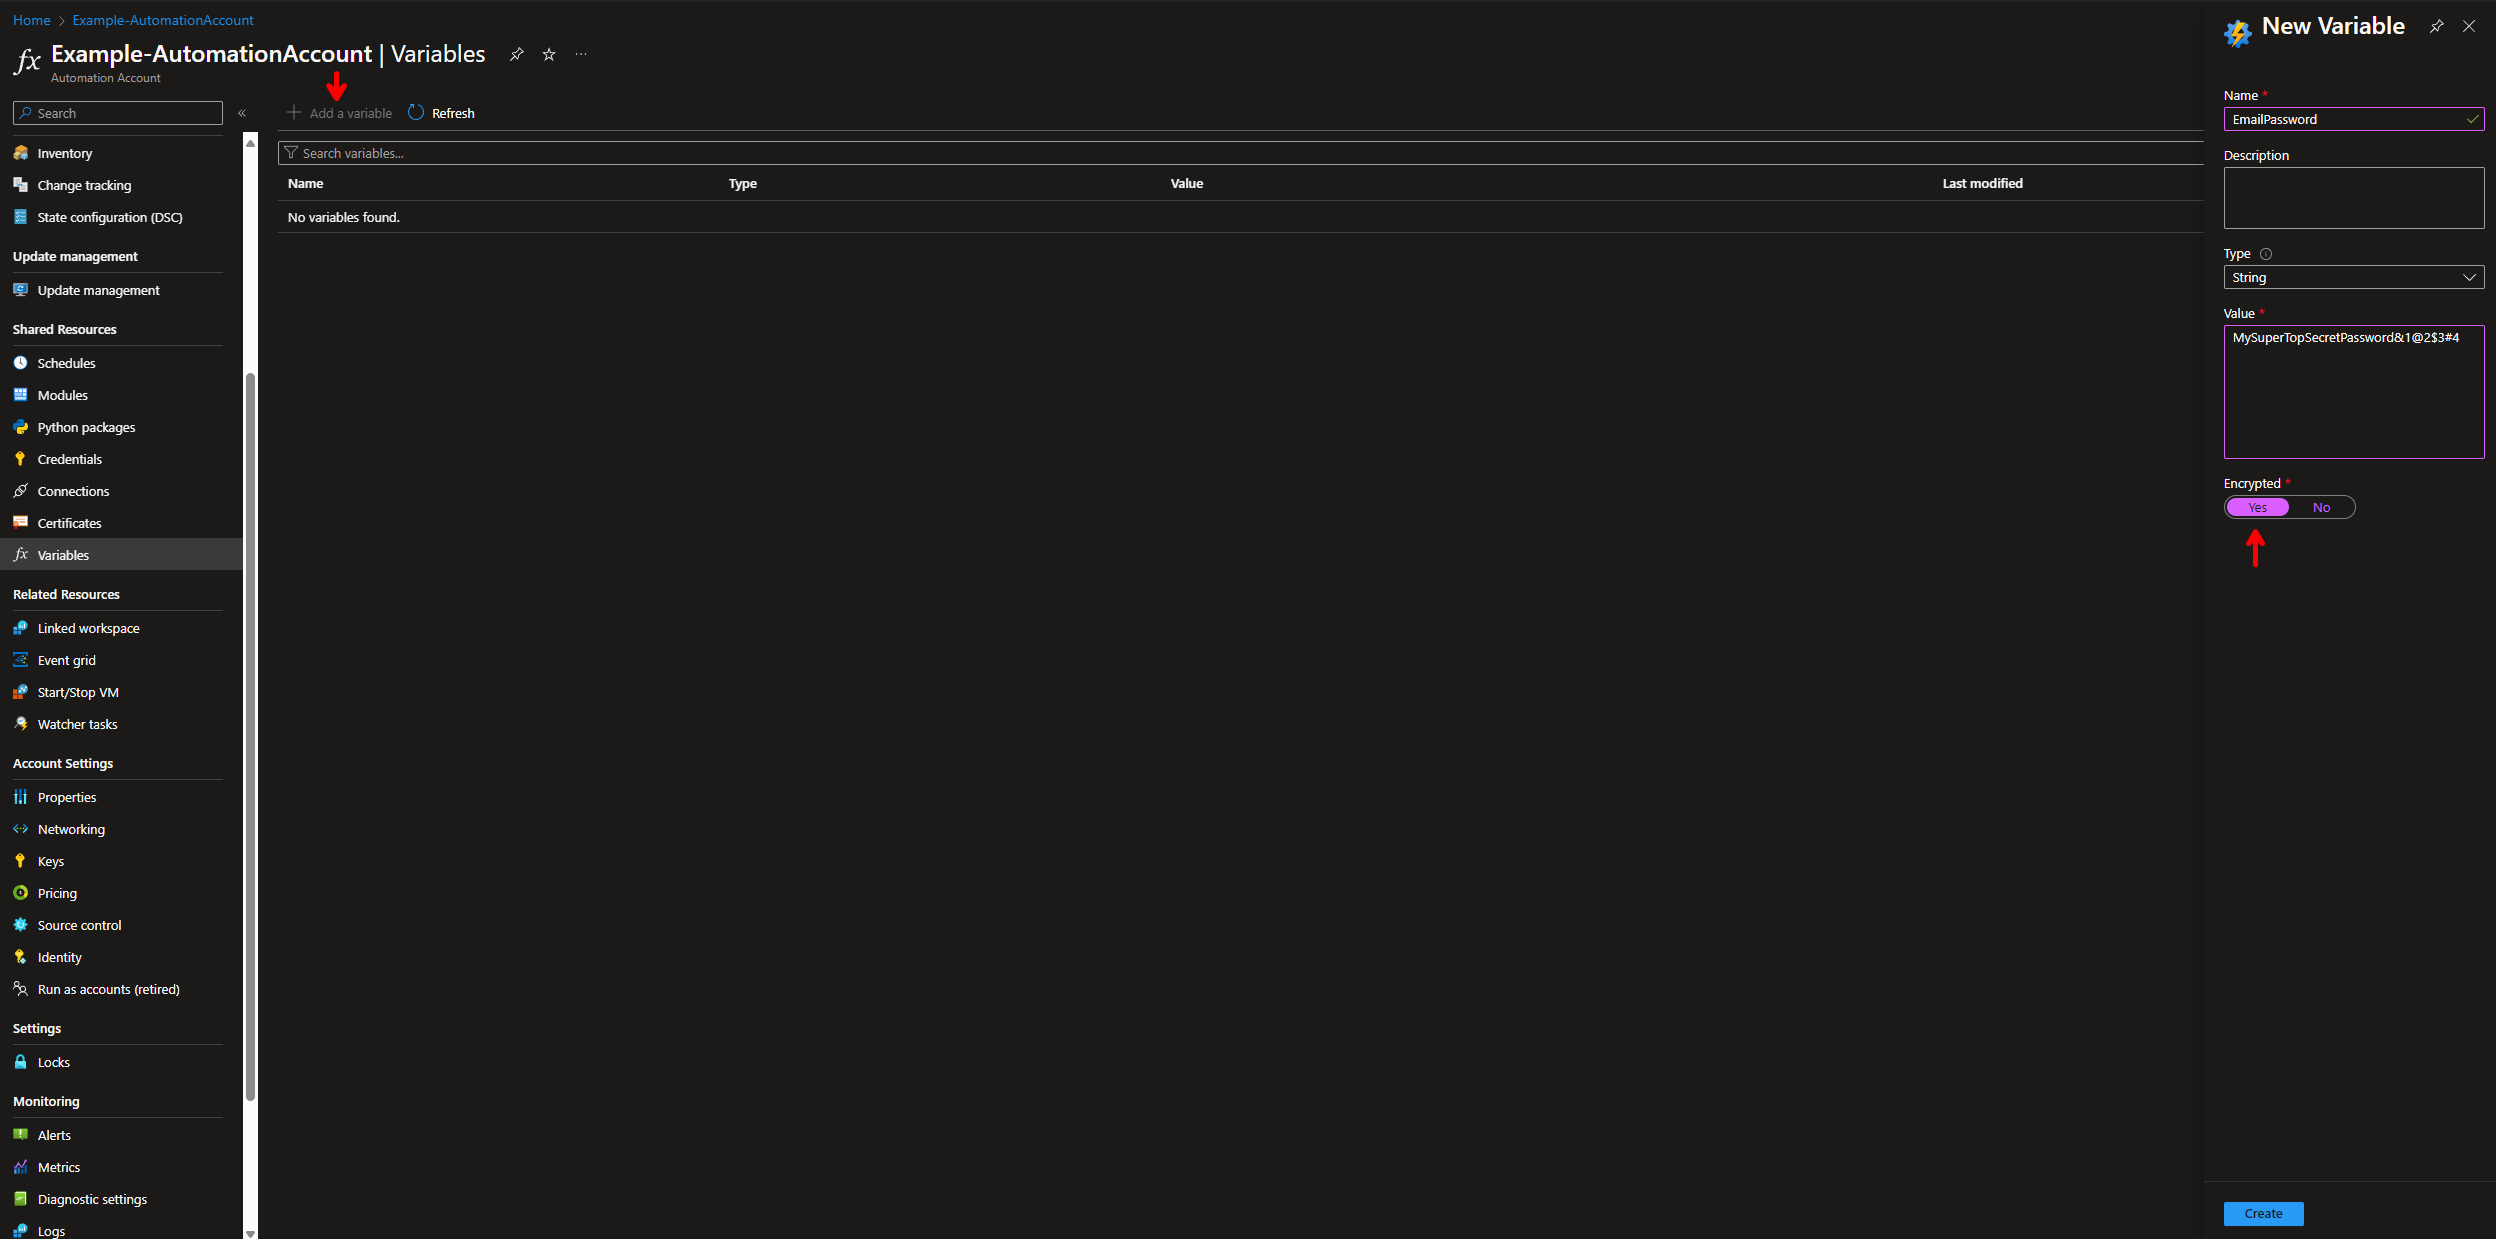
In order to utilize this script in your Automation Runbook, you will need to set an encrypted variable inside of the Automation Account. This will be so we can pass the EmailPassword variable securely to the script. The script has the ability to gather this password automatically if you perform the following steps.
- Go to Automation Accounts -> Select the Automation Account -> Variables.
- Click + Add a variable
-
New Variable
-
Name:
EmailPassword -
Description:
This is the password for the Email Account used in SMTP for an Azure Automation Runbook. -
Type:
String -
Value:
<YourPassword> -
Encrypted:
Yes
-
Name:
Leave some feedback if this helped you! ![]()

Share on:
